Wetland Photography in Low Light: Settings for Dawn and Dusk
Camera settings and field craft for photographing misty wetlands at first and last light, from exposure and focusing to tripods, white balance and staying safe at dusk.
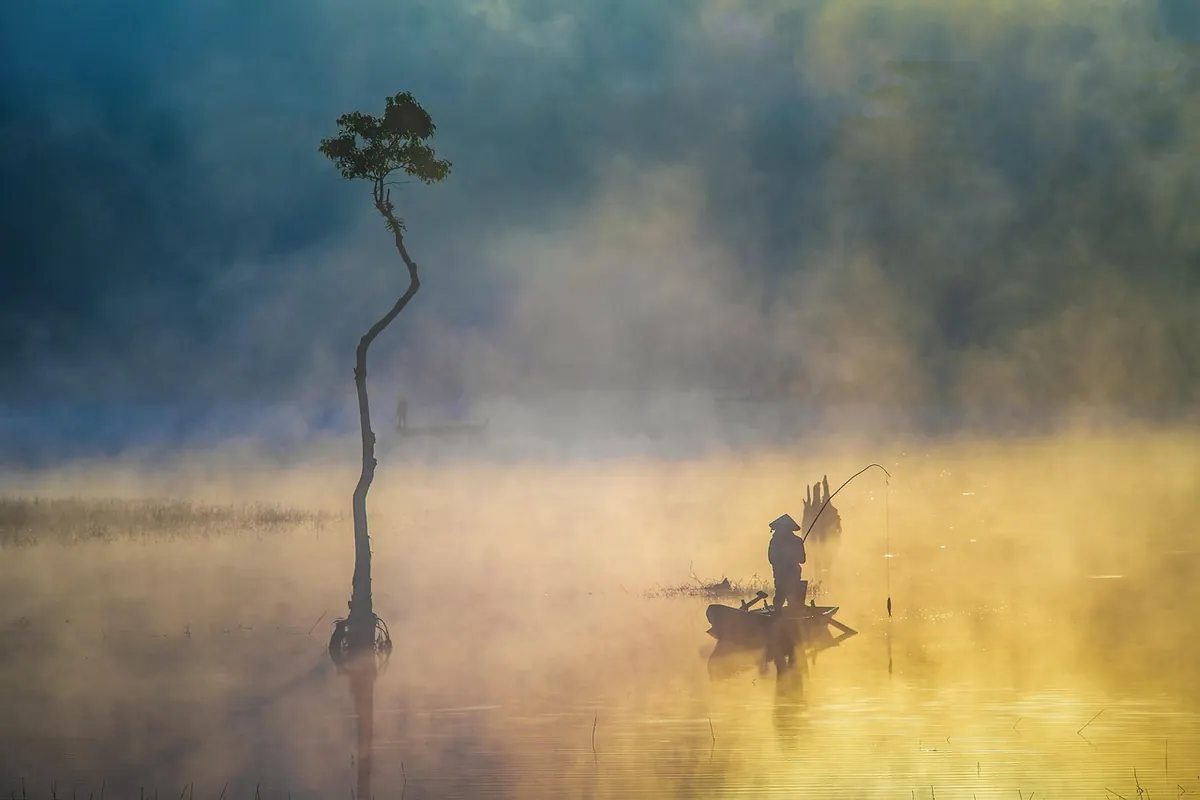
The best light on a wetland lasts about twenty minutes, and it arrives when your hands are coldest. Mist pooling along a reedbed at first light, a heron greyed out at two hundred metres, the last orange band slipping behind a line of willows — that is what gets people out of bed at half four. It is also the hardest light your camera will face all day. The reassuring part is that low light is predictable. Once you know which settings matter and in what order to set them, you can stop fiddling with dials and get on with watching.
Why wetlands look better when the light is poor
Mist behaves like an enormous softbox. Contrast drops, highlights stop blowing out, and colour goes quiet — which suits reedbeds, wet mud and open water far better than flat midday sun. Frost on a boardwalk, spiders' webs strung between reeds, a slow swirl of vapour over a pool: none of it photographs well at noon.
The catch is that dawn and dusk move quickly. Blue hour, first light, sunrise and the after-glow are each measured in minutes, especially in winter. Have a base exposure ready before the light turns up, so you are adjusting rather than starting from nothing. What you give up is light itself, and with it some autofocus speed and a lot of dynamic range.
Build the exposure in the right order
Work through the three controls one at a time, and the scene stays manageable.
- Aperture first. It decides depth of field and how much light reaches the sensor. Wide scenes with reeds in the foreground: f/8 to f/11. A bird or an otter close enough to fill the frame: f/4 to f/5.6, which also blurs the background and buys you light.
- Shutter second. Set it by movement. A still misty pool on a tripod will take 1/4 to 2 seconds, smoothing the water and letting vapour drift. Reeds in a breeze need 1/60 to 1/125. A moving bird needs 1/500 and above, and you accept the ISO that costs.
- ISO last, and higher than feels comfortable. Modern sensors cope well between 1600 and 6400. A sharp frame with visible noise beats a clean one with a smear where the bird was.
Auto ISO with a minimum shutter speed is a useful safety net while the light is changing fast. Once it settles, switch to manual and stay there; that way successive frames match, which matters if you plan to blend or compare them later.
Metering mist: add light rather than trusting the meter
Bright mist and pale water fool a camera into underexposing. The meter sees all that brightness, assumes it should be mid-grey, and hands you a muddy grey frame. Add around +0.7 to +1.3 EV as a starting point on a misty morning, then check the histogram and push the exposure right until the brightest mist is just short of clipping. A little blown highlight in rippled water is harmless; lost detail in a swan's plumage is not.
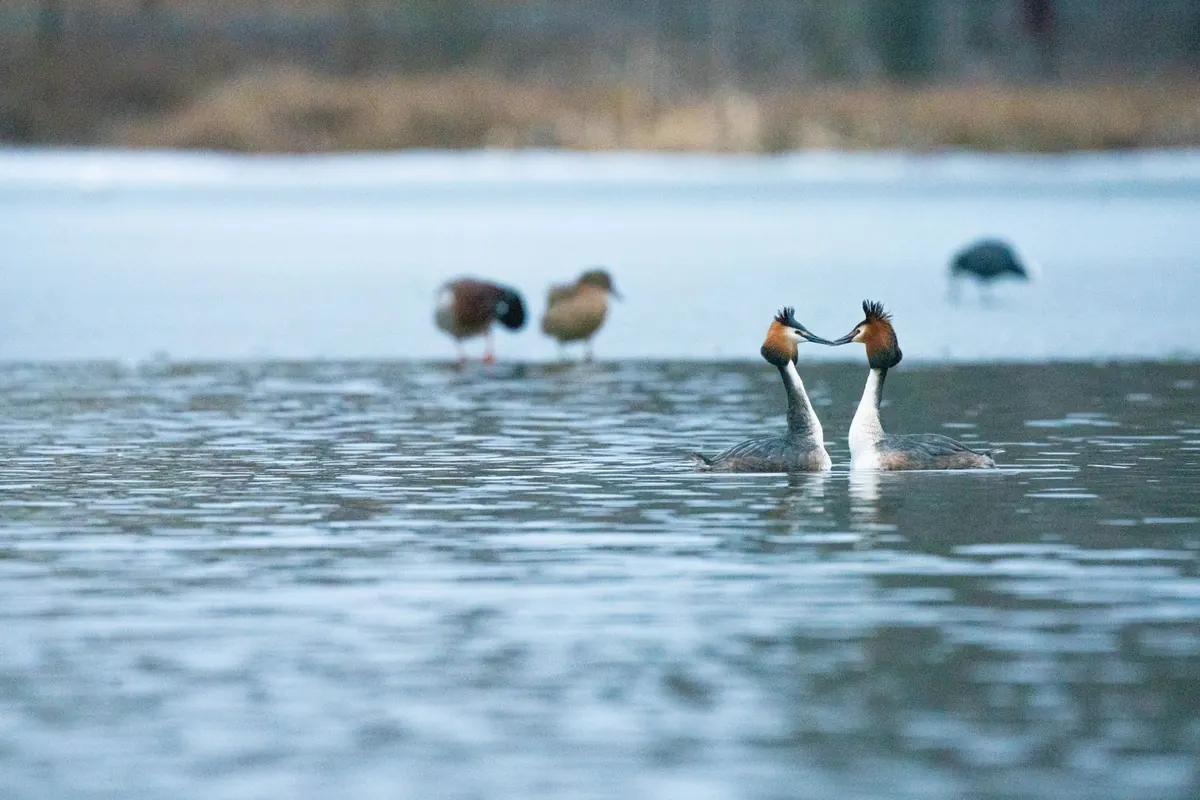
Decide early what the mist is doing. If it carries the picture, expose for the mist and let the bird go dark — a backlit heron standing in vapour is usually stronger than a lit one. Silhouettes are a legitimate result at both ends of the day, not a failure.
Focusing when everything is soft and grey
Low contrast is what breaks autofocus, not darkness alone. A flat grey reedbed gives the sensor almost nothing to lock onto, so it hunts, and you miss the moment. A few habits fix most of it:
- Use a single, small AF point and place it deliberately on an edge with texture — a reed stem, a post, the line of a bird's back.
- Separate focus from the shutter button if your camera allows it. Focus, lock, then recompose at your leisure.
- Switch to manual and use magnified live view when the scene is static. Focus peaking helps if you have it.
- Pre-focus on a favourite perch — a kingfisher post, the top of a hide — and wait for something to land on it.
- For wide wetland views, focus roughly a third of the way into the frame at f/8 to f/11, then check at 100% before you move on.
Support, cloths and cold fingers
A tripod earns its keep here. Set it low and splay the legs; the lower the camera, the more of that mist you get between it and the far bank. Use a remote release or the two-second timer, and turn image stabilisation off when the camera is locked down unless your kit's manual says otherwise. Over a hide ledge, a beanbag is quicker and quieter than legs.
Keep a lens hood fitted against stray light and drizzle, and carry two microfibre cloths — one for the front element, one for the viewfinder. If you move from a warm car into cold air, condensation will fog the glass within seconds; leave the kit in a closed bag for ten minutes to acclimatise. Spare batteries belong in an inside pocket, where they stay warm and keep their charge. A head torch with a red setting saves your night vision and stops you blinding anyone sharing the hide.
Colour, white balance and keeping the mood
Blue hour really is blue, and auto white balance will do its best to neutralise it — which is precisely the thing you got up for. Shoot raw, choose a fixed value, or leave it on auto and correct later with the raw file intact. Do not warm up a blue-hour frame just because it looks cold on the back of the camera; the cold is honest.
When you process, protect the brightness of the mist and leave the contrast gentle. Wetlands at dawn are low in saturation anyway, and pushing it turns delicate greys into something closer to a postcard. A little careful noise reduction on the shadows is usually enough.
A field routine for dawn and dusk
Settings are half of it; being in the right place at the right minute is the rest.
- Scout in daylight. Know where the water opens up, where the light will come from, and where you can safely stand.
- Check the weather. Mist likes still, clear nights after a damp day. Wind will flatten the whole effect.
- Arrive forty-five minutes before sunrise, or an hour before sunset, and set up in the dark.
- Dial in a base exposure before the light arrives, then adjust in thirds as it changes.
- Stay on after sunrise. The twenty minutes following it often beat the sunrise itself.
- Tell someone where you are going and when you expect to be back. Wetland paths at dusk are slippery, and mud, deep water and rising tides catch people out every year. Stay on boardwalks and marked paths, carry a torch, and give the wildlife room.
- Dry everything at home, including the tripod legs and the inside of the lens hood.
Do that a few times and the settings stop occupying your attention. Which is the point: the mist will only hold its shape for a few minutes, and you want to be watching it, not reading a menu.
Photo: bytran2710 / Pixabay