Common Mistakes When Photographing Wetland Birds (and How to Avoid Them)
The usual fieldcraft, exposure, composition and distance errors that spoil wetland bird photography — and the practical habits that fix them.
Wetland bird photography looks peaceful from the outside. In practice it is a run of small decisions made quickly in awkward conditions: soft mud underfoot, light bouncing off open water, and a subject that clocked you before you saw it.
The same handful of mistakes show up in most disappointing wetland portfolios, and none of them are fixed by a new lens. They come down to fieldcraft, exposure discipline, composition and knowing when to walk away.
Rushing the Approach
Most waders and wildfowl see movement long before they hear a shutter. The classic error is walking straight at a bird across open ground, in full view, on a straight line. That gets you a photograph of a backside and a pair of tail feathers heading for the far pool.
Approach at an angle, not head-on. Keep something between you and the bird — a reed bed, a bank, a bush, even a fence post — and stay off the skyline. Move while the bird has its head down and is feeding, then stop the moment it lifts its head. Freeze. Let it settle, then continue. Ten metres of patient, stop-start movement will beat fifty metres of determined marching every time.
Wind matters too. Walking into the wind keeps your scent away from birds ahead of you; walking with it at your back pushes you into the birds that are already alert downwind. Where you can, work across the wind or into it.
Staying Upright When You Should Be Low
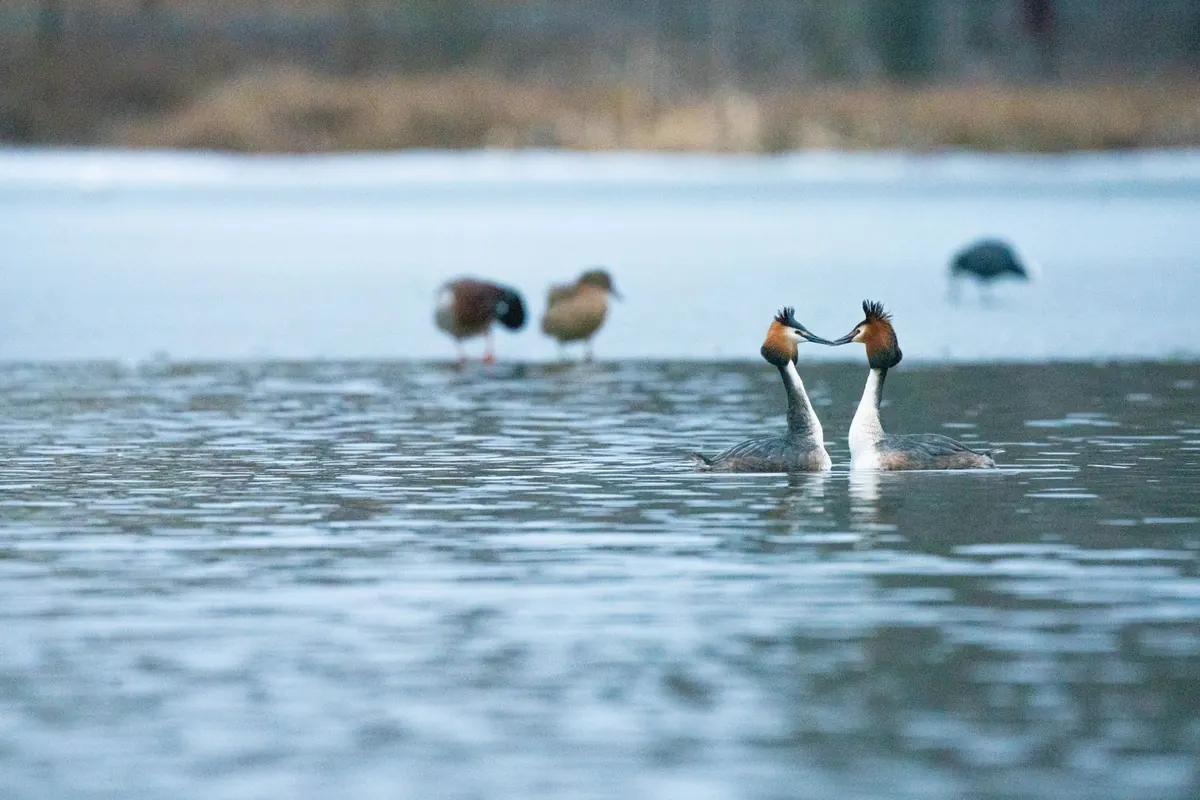
Wetland birds live on a horizontal plane. If you photograph them from standing height on a bank, you are shooting downwards into mud, grass and water, and your backgrounds turn to noise. Drop to their level and everything improves at once: the far bank softens into a clean wash, reflections line up behind the subject, and the bird's posture reads properly.
Kneel in the mud. Sit on a mat. Use chest waders and get into the water where it is safe and permitted, or lie behind a bank with the lens resting on a beanbag. A low tripod is more stable than a tall one anyway. If your local reserve has a hide at water level, use it before you spend anything on camouflage.
Losing the Highlights
Water is a giant reflector and cameras are easily fooled by it. Two failures come up again and again.
Blown whites
Swans, egrets, gulls and the white flanks of many ducks clip to pure white faster than you expect, and once detail is gone it is gone. Turn on the highlight warning and check the histogram after every few frames. If the right-hand edge is a wall of spikes, dial in negative exposure compensation — often a third to a full stop in flat light, more in sun. Shooting in raw gives you room to lift shadows later, but it will not recover a blown-out neck.
Backlight and bright water
A sheet of bright water can pull the meter down and leave your bird as a silhouette when you wanted detail. Switch to spot or centre-weighted metering on the bird, or work in manual with auto ISO and set exposure before the subject arrives. Against the light, decide what you want: a true silhouette with a clean shape, or a lit bird that needs positive compensation and careful attention to flare. Don't leave it to the camera to guess.
Set your exposure on the empty water where the bird will be, not on the bird once it has arrived. Half the exposure problems in wetland photography are really timing problems.
Composition Mistakes in a Flat Landscape
Reedbeds and open water give you very little structure, so small composition errors stand out. Run through the same checks each time:
- Focus on the eye, and place the head roughly a third of the way into the frame rather than dead centre.
- Leave space in the direction the bird is facing or swimming into. A bird butting against the frame edge feels wrong immediately.
- Check the far bank. A bright patch of gravel, a plastic bottle or a blurred dog walker can ruin an otherwise clean background.
- Use reflections deliberately — a full reflection can double a bird's presence; a broken one can be more interesting than a tidy one.
- Keep the horizon level and the waterline parallel to the frame edge unless you have a reason not to.
- Take one wide frame showing the habitat. Wetland photography is about place as much as species.
Standing Too Close
This is the mistake that matters most. A photograph is not worth a disturbed roost, an abandoned nest, or a bird pushed off its feeding grounds on a cold morning when it needs every calorie.
Learn the signs. A head that snaps up and stays up. Wing flicking. Alarm calls. A bird walking or swimming steadily away from you. A wader that keeps leapfrogging further down the shore. Any of these means you are too close, and the answer is to retreat rather than push on. The bird's behaviour is the only distance rule that really counts.
Long lenses and cropping are the tools for this, not persistence. In the breeding season, take extra care: many species are legally protected from disturbance at or near the nest, and the rules differ between species and locations, so check the guidance for your site before you go. If in doubt, photograph from further away or not at all.
Chasing the Shot Instead of Learning the Bird
The photographers who produce the most consistent wetland work are usually the ones who visit the same few pools again and again. They know which corner the teal favour when the wind is from the north-east, when the tide pushes waders onto the scrape, and where the light falls at first light in midwinter.
That knowledge is what gets you close, and it cannot be rushed. Spend the first visit without the camera, or with it in the bag. Watch where birds go when they are disturbed, which pools they use at low tide, and how they react to people on the path. Then come back an hour before you think you need to, settle in one spot, and let the birds come to you.
A Practical Routine for Your Next Visit
- Check the wind, the tide and the forecast before you leave. Wind direction decides which pool to work and which way to approach.
- Walk the site first, with the camera in the bag. Note where birds are and where they will move next.
- Pick one spot with cover and a low viewpoint, and settle there. Sit still for at least twenty minutes before expecting anything.
- Set exposure and check the histogram on the water before a bird appears, then adjust compensation for white plumage.
- Move slowly, stop when a head comes up, and keep your distance honest rather than convenient.
- Leave the bird as you found it, note what worked and what did not, and plan the next visit around that.
None of this requires better equipment. It requires fewer frames taken more deliberately, and a willingness to spend an hour doing nothing but watching.
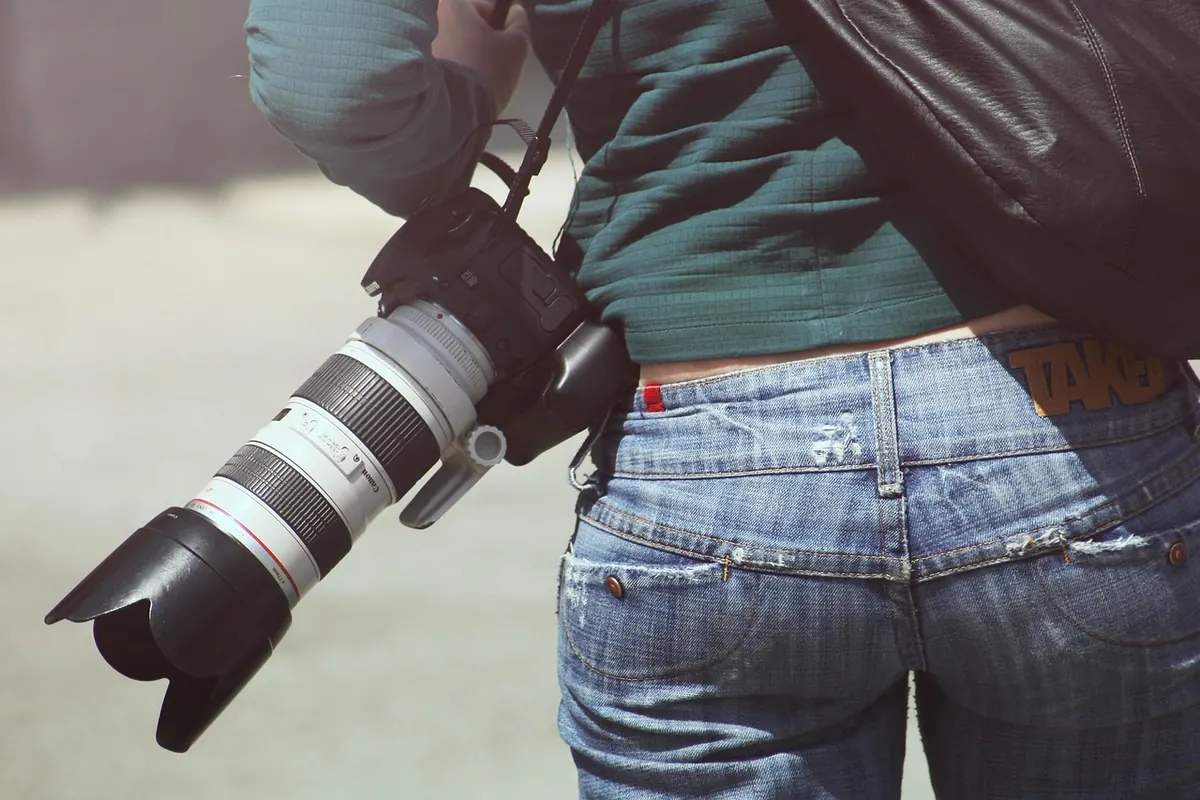
Photo: SplitShire / Pixabay